If properly inserted, GyneFix® has several important advantages when compared to traditional IUDs. It is therefore essential that doctors become familiar with this new insertion technique. This page explains how proficiency can be acquired in a minimum of time.
Remark:
Never insert GyneFix® without proper training.
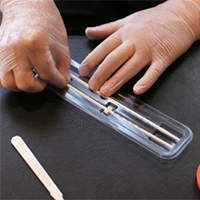
After you have participated in a training course, use HUT® (the “Home Uterine Trainer”) to practice at home before you start inserting GyneFix® in your patients. The instructions below concern the insertion procedure in HUT®. The procedure is identical with the actual insertion in your patients.
Video procedure
Illustrated procedure
Note: The most important instructions during the insertion procedure are in BOLD. Contact the distributor (see availability) for advice and to obtain HUT.
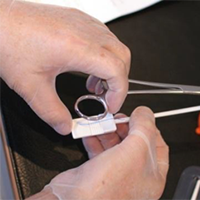
Step 1:
Place Allis or Pozzi forceps on the cervix (horizontally or vertically).
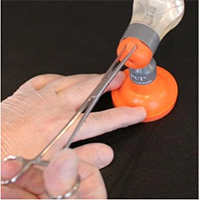
Step 2:
Put your hand on the forceps as shown on the figure. Make sure your thumb is free.
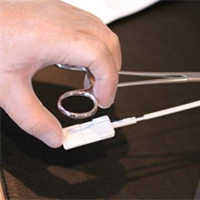
Step 3: Sound the uterus. Successful sounding of the uterus provides confidence and important information on the depth and direction of the uterine cavity. You may want to perform the “Cotton Swab Test” (cotton swab soaked in antiseptic solution) prior to opening the package.
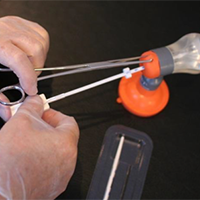
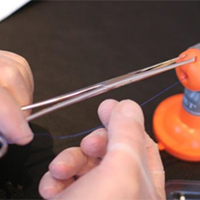
Step 4: Grasp the applicator as shown on the figure. Maintain this grip until you have reached the fundus (See step 7).
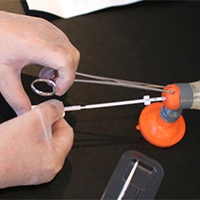
Step 5:
Insert the applicator in the uterus until it touches the fundal wall of the uterus. The depth should be identical as the sound length. You will usually not change the adjustment ring on the application tube; it only serves to fix the applicator in the package, and remains at 10cm.
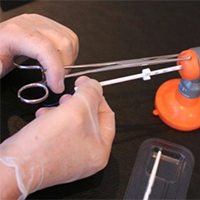
Step 6:
Immediately following contact with the fundus, put your thumb of the hand holding the forceps at the end of the handle (see figure) to keep contact with the fundus before anchoring.
Step 7:
Remove your (other) hand now.
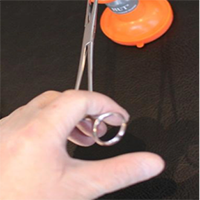
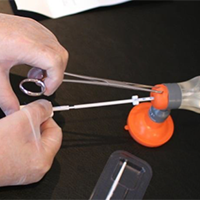
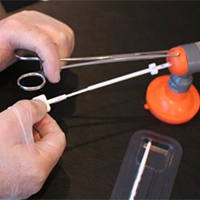
Step 8: Position your thumb and index finger on the handle as shown.
Step 9:
Focus now on the distance between the handle and the end of the tube.
Step 10:
Move the handle forward, feeling the anchoring knot penetrating the fundus. Full penetration is obtained when the handle touches the tube. It is not necessary to push hard or to push a second time.
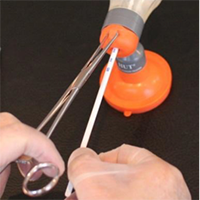
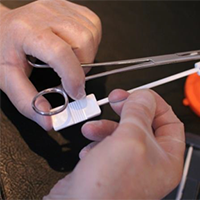
Step 11:
Cut the tail which is fixed in the slot on the handle with a scalpel, while keeping contact with the fundus.Make sure that your thumb is still positioned at the end of the handle to avoid traction on the anchor.
Step 12:
Remove your thumb now and withdraw the handle.
Step 13:
Withdraw the tube slowly while rotating it.
Step 14: Stroke the tail softly to feel the attachment.
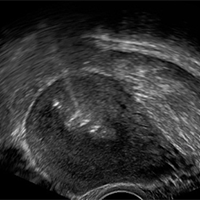
Step 15: Always look for the marker and measure its distance to the serosa.
In his clinic in Ghent, Dr. Wildemeersch organizes training sessions for doctors from inside and outside Belgium, interested in learning the anchoring technique of frameless intrauterine devices.
The clinic is specialized in providing precision intrauterine contraception to fulfill women's needs.